I felt the need to address the wall texture issues first. Part of my initial goal was to hide the bumps and gouges left by the incompetent "professionals" who rebuilt our house after a house fire (no, no, I'm not bitter at all). Even though I originally thought the paint would help do that, I could now see it wouldn't even come close. So I took my 3 boys and walked through the Home Depot paint department and searched for inspiration. I found it in the form of a can of spray texture. I had no idea that stuff existed! I went home excited about taping off a top line and bottom line to mark the outer squares and spraying texture on the wall. And I had a bunch of new paint sticks to replace the ones that had broken in sword duty.
Up to this point I had been planning on just painting one wall at a time. Suddenly I realized I had better put squares across all 3 walls to make sure that I didn't have a square cut in half in some awkward position, and MIRACULOUSLY!!! I didn't. I fudged a little in one corner, and that is it! But this meant I was going to have to be moving the great big loft beds back and forth to paint around them.
Since my husband was off in Germany, I felt that a phone consultation with one of my sisters would be wise before plunging ahead. How glad I am to have done so! I explained my plan to spray texture on the wall (keeping the square cardboard templates in place so that 1) I wouldn't have to put those little squares back up and 2) I would be able to see clearly where the small squares were within the larger square when it came time to paint). I also thought (hoped) that the difference in texture would be cool. And maybe even carpet-like. By this point I was well into the Delusional Stage that we all suffer from when we are in the middle of a project - convinced that everything will turn out to be AMAZING. Anyway. My sister advised me to do some outdoors experimentation with both the texture and the paint to make sure that I would like the result.
One blast from the spray can and I realized that there were serious overspray issues and I needed to put up large sheets of paper or garbage bags to protect the rest of the wall. And I was going to need to move the beds.
Which leads me back to those conversations that seemed trivial back in December. You see, as my husband was putting the beds together, I said something like "Maybe I should paint before you put the beds up." And he, knowing full well that I was at the coloring paper stage, just said "Hmmm." And proceeded to build the beds. Then, after he had the beds built and we listened to them creak and bump the walls whenever the boys climbed on them, he said "I think I need to bolt the beds to the wall." And I said, "Not until I paint the border." And he said "Hmmm." Which I now realize meant "The discussion is over. You haven't convinced me." But at the time I thought it meant, "Bummer. I really wanted to do that."
So none of you will be surprised that I spent 2 or 3 minutes, w/ my 10yo helping me, pushing w/ all of our might at those beds and they didn't budge. I looked up between the wall and the beds and saw some blocks of wood wedged in that space, and decided that they were what was keeping the beds from moving. I sent the 10yo to the garage for a hammer and set to work to pound those stubborn little blocks out of there. After pounding away for minutes and watching one little square just kind of pivot oddly in place, I sent the 10yo to the garage for anything he could find that resembled a nail punch. He came back w/ a chisel, which I intially thought was not helpful at all. But as I pounded away some more and saw that little block of wood appear to give way I thought "AHA! Finally! Some women would have given up by now, but not I! I am about to finish this project!" (See, Delusional Stage.) And then, half of the wood suddenly split off and revealed: a piece of metal. Something that looked suspiciously like a bolt, in fact. It was time to call my husband in Germany.
Here is something I suspect might be odd: After 20 years of dating and marriage, I am still never quite sure when I am going to get easy-going Stefan and when I am going to get you-did-WHAT-Stefan. When we chatted on Skype, easy-going Stefan was amused by my efforts to date and asked me if I had forgotten what he had said in December. I said no, but did he hear what I said after he said what he said??? "Hmmmm" was his reply yet again, which this time I think meant "The discussion is over. I am admitting no wrong-doing." Or it could have meant "I'm very confused by this conversation and do not wish to admit it." Or it might have meant "I'm hungry and here in Germany it's supper-time." Whichever, he gave me permission to unbolt the beds, spray texture on the walls, and basically do whatever I wanted, and gave me some helpful tips about where to find the tools we would need.
So I started unbolting. Actually, I set the 10yo to that task while I taped away. For those of you who think I was working the kid pretty hard, trust me, he wanted to be a part of things. Looking after his younger brothers for me? Making the occaisional pb&j? Not so much. Except for the last bolt, where I had to help and we got the wrench jammed in between the headboard and bed frame - and it sits there still - it was pretty uneventful. Easy-going Stefan says he can get the wrench out whenever he wants to. Or maybe he said "Hmmm." I'm not sure anymore.
After the difficulties I had leveling the inner squares, I decided one big long level piece of tape was unrealistic for me to get up on the wall, so I decided to attempt alternating the sizes of the squares slightly. (It's going to look so carpet-like!" my inner voice whispered.) First I went around the room and used a piece of cardboard as my gauge to put a piece of tape the same amount above and below every other square. Then I went around and estimated the halfway point between each set of squares, and put a piece of tape closer to the inner square template, above and below. This was trickier, because I had to make sure it went exactly from one mid-point to the other, and that the top line and bottom line were equal. Which of course they would be if they both went from the actual mid-point to the other actual mid-point, but I was estimating, so it was chancey. Remember, I had just eyeballed my initial placement of the inner squares, so each of my inner/outer squares were slightly different sizes anyway. But I had to make sure that they alternated between noticeably bigger and noticeably smaller. My 10yo helped me tape paper above and below all of this marvelous taping, and I was ready to spray.

Deep breath. The undo-able part. I sprayed wall texture. The fumes were horrible; I liked the look. At this point, I started letting the boys sleep out on the living room floor and there was more than one night they fell asleep out there before I even realized it was 11pm and told them to go to bed. I also invented a meal I was proud to call Yellow - corn on the cob and scrambled eggs - because naming it somehow made it more health-conscious, caring mom and less desperate, doesn't have time to cook properly mom - and served it to the boys something like 4 times in 2 weeks. Clean laundry mingled with dirty laundry all over the house, and I made the kids wear the same clothes for at least 3 days in a row. Good times.
We peeled off the overspray barriers. I didn't hate it. I was still deep in the Delusional Stage. (It's going to look AMAZING! And so carpet-like!) And it is at this point in the project that I looked at my 5 paint cans and said to myself "I will just do a 5 block repeating pattern." (I have no idea why I even tried to plan this project in the first place.) I randomly grabbed the dark green color, placed strips of tape vertically from where the outer squares changed sizes, and went around the room, painting every 5th square green. I liked it. Weirdly enough, I started at one end w/ dark green and the other end came up: Green! Amazing! I didn't want to paint the adjacent color (beige or dark brown) while the green paint was drying, so I did cream next. I really, REALLY liked it.
Then I hit a small snag. When I put strips of tape over the green paint so that I could paint beige next to it, the tape pulled off some of the green color when I removed it. So I decided that I would have to do the rest of the colors with no side tape. Just trusting my top-notch painting skills to go along next to the neighboring color without going over it. I do NOT have top-notch painting skills, people. But for beige, dark brown and dark blue, I was able (for the most part) to do this. I also mentally added the step of going back and doing touch-up painting to my growing list of things this project required.
 |
| my facebook poll picture - keep the inside color the same or not? |
Two weeks of me squatting in the boys room with a child's paintbrush in hand, going around and around the room with a different paint color at my feet. Two weeks of sliding those amazing yet very heavy loft beds back and forth along the wall. Two weeks of thinking very deep thoughts like "Straight lines, straight lines, straight lines, oops, you'll have to go back over that spot. Hmmm, that

~Stephanie
 |
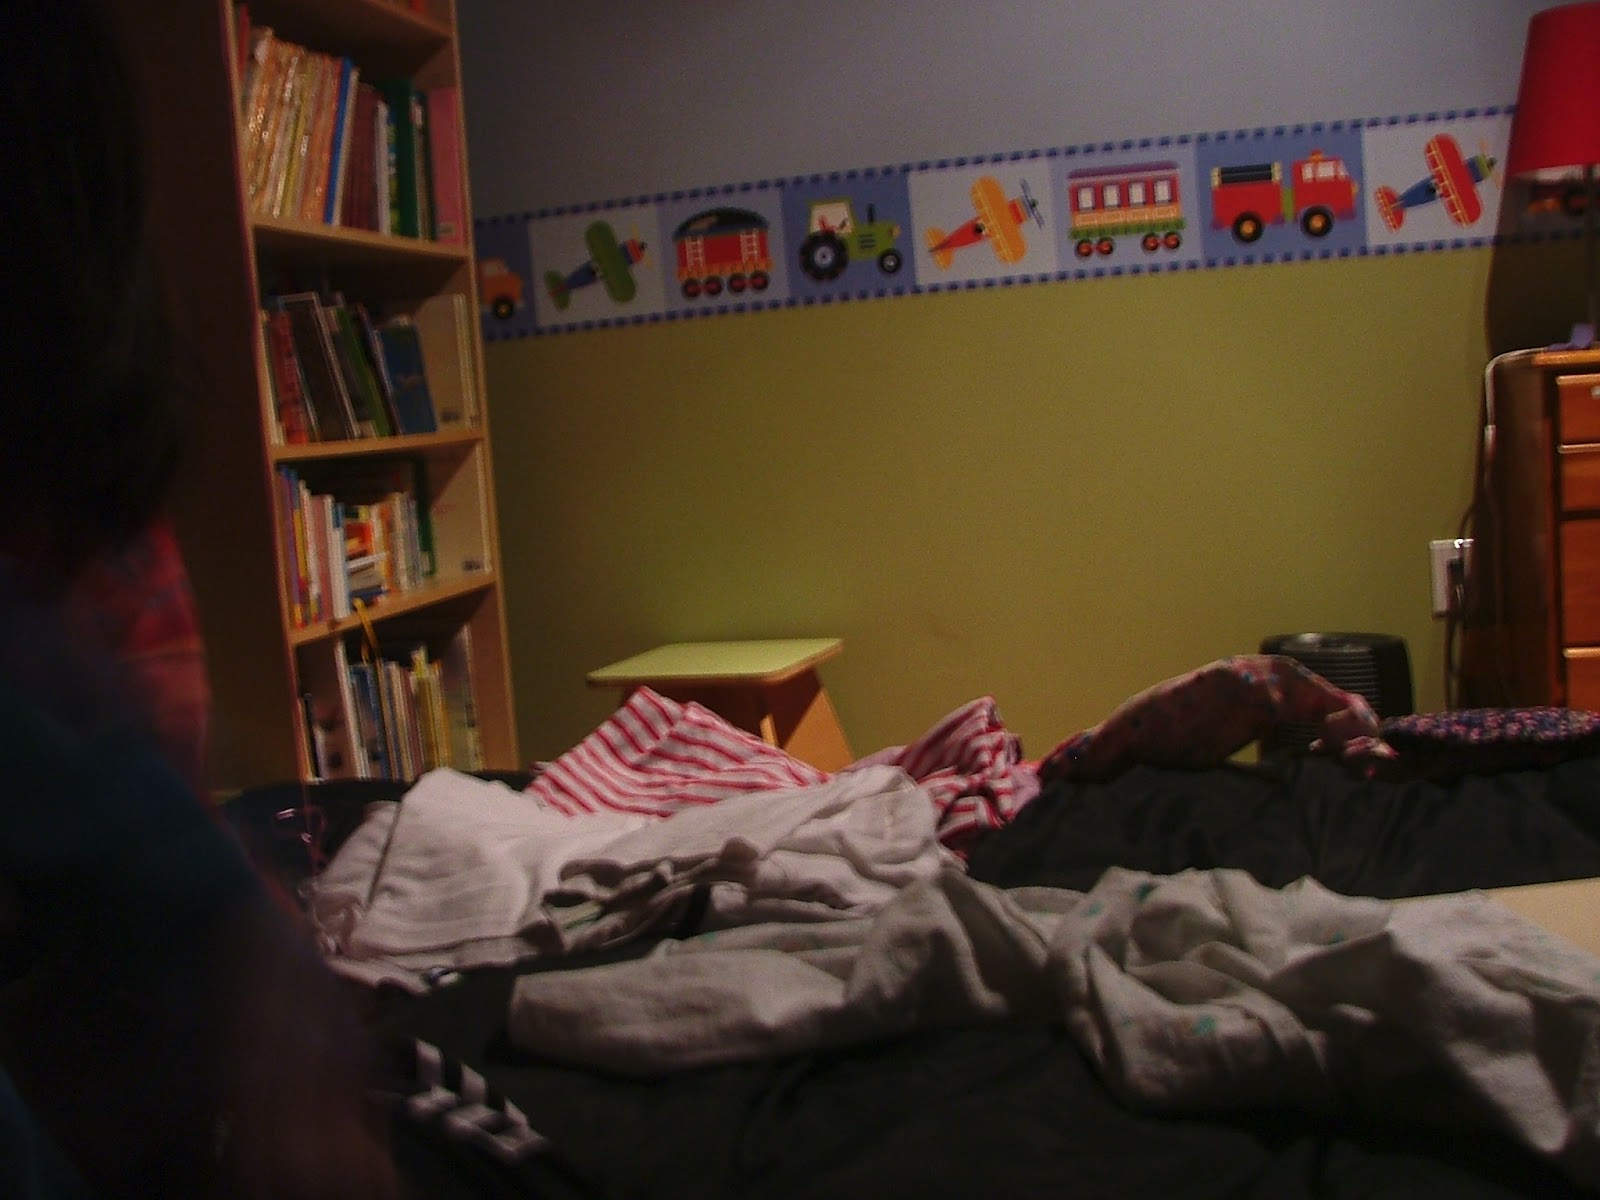
| I debated about getting the boys' beds made up perfectly for this picture, but ultimately decided we keep it real here on moms-retreat, so why go all Better Homes and Garden now. :) |